
Introduction:
A valve cover leak is a common problem that many car owners may encounter. It can lead to oil seepage, which can cause a burning smell, reduced oil levels, or even engine damage if left untreated. In this comprehensive guide, we will walk you through the steps to fix a valve cover leak on your vehicle.
Identifying the Issue:
The first step in fixing a valve cover leak is to accurately identify the source of the leak. Common signs of a valve cover leak include oil spots on your driveway or garage floor, a burning oil smell, or visible oil on the engine. It’s essential to confirm that the leak is coming from the valve cover gasket before proceeding with the repair.
Gathering the Tools and Materials:
Before starting the repair, make sure you have the necessary tools and materials on hand. You will typically need a socket wrench set, a new valve cover gasket, RTV silicone sealant, a torque wrench, and clean rags for wiping down surfaces.
Step-by-Step Guide:
1. Prepare Your Vehicle:
Begin by parking your car in a well-lit and ventilated area. Let the engine cool down completely before starting the repair to avoid burns or injuries.
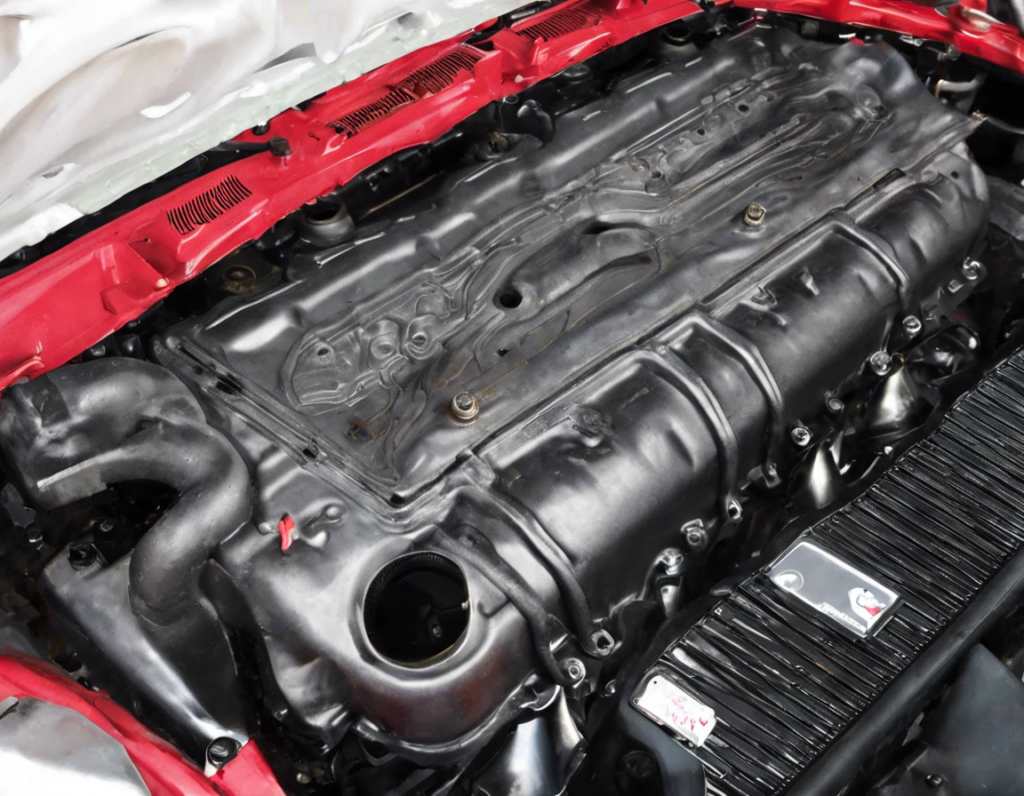
2. Locate the Valve Cover:
Locate the valve cover on your engine. It is usually a rectangular or oval-shaped metal or plastic cover on the top of the engine. Consult your vehicle’s manual if you’re unsure about its location.
3. Remove the Valve Cover:
Using a socket wrench, carefully remove the bolts holding the valve cover in place. Gently pry off the old valve cover gasket, taking care not to damage the mating surfaces.
4. Clean the Surfaces:
Thoroughly clean the mating surfaces of the engine and valve cover with a clean rag and a suitable solvent to remove any old gasket material or oil residue. Ensure that the surfaces are dry and free of debris before proceeding.
5. Install the New Gasket:
Place the new valve cover gasket onto the valve cover, ensuring it is properly aligned with the bolt holes. Apply a thin, uniform bead of RTV silicone sealant to the sealing surfaces of the valve cover to ensure a proper seal.
6. Reinstall the Valve Cover:
Carefully place the valve cover back onto the engine and hand-tighten the bolts. Using a torque wrench, tighten the bolts to the manufacturer’s recommended torque specifications in a crisscross pattern to ensure even pressure.
7. Check for Leaks:
Once the valve cover is securely fastened, start the engine and allow it to run for a few minutes. Check for any signs of leakage around the valve cover. If no leaks are detected, you have successfully fixed the valve cover leak.
8. Clean Up:
After ensuring that there are no leaks, clean up any spilled oil or debris from the repair area. Dispose of the old gasket and any other waste materials appropriately.
Frequently Asked Questions (FAQs):
1. How do I know if my valve cover is leaking?
Signs of a valve cover leak include oil spots on the ground where you park, a burning oil smell, or visible oil on the engine.
2. Can I drive with a valve cover leak?
It’s not recommended to drive with a valve cover leak as it can lead to reduced oil levels, engine damage, or a fire hazard.
3. How much does it cost to fix a valve cover leak?
The cost of fixing a valve cover leak can vary depending on the make and model of your vehicle, the extent of the damage, and whether you do the repair yourself or take it to a mechanic.
4. How long does it take to fix a valve cover leak?
Fixing a valve cover leak can typically be done in a few hours, depending on your level of experience and the complexity of the repair.
5. Can I reuse the old valve cover gasket?
It’s not recommended to reuse the old valve cover gasket as it may not provide a proper seal, leading to further leaks. Always use a new gasket when performing this repair.
In conclusion, fixing a valve cover leak is a manageable task that can be completed with basic tools and a little know-how. By following the steps outlined in this guide, you can save time and money by tackling this repair yourself. Remember to take your time, stay organized, and always prioritize safety when working on your vehicle.